NewerTech Macbook Pro Battery Replacement
After 4 years and 624 charge cycles, my MacBookPro11,3’s (15" Mid 2014) battery wasn’t quite functioning as well as it used to. At first, occasionally, during high CPU load the machine would decide the battery was flat, and refuse to switch on again until placed on the charger briefly. Then the shutdowns just started happening at random times when the battery was anywhere below 50%. Then the OS started throwing warnings to replace the battery.
After spending an entire day at a tech event without a working laptop, I decided to do something. Apple weren’t sure they had parts to do it, and quoted a cost that was approximately the same as the value of the laptop.
I ordered the NewerTech NuPower replacement kit from Macfixit. Unfortunately it was out of stock for about six weeks, but despite being given the opportunity to cancel the order and receive a full refund, I kept waiting.
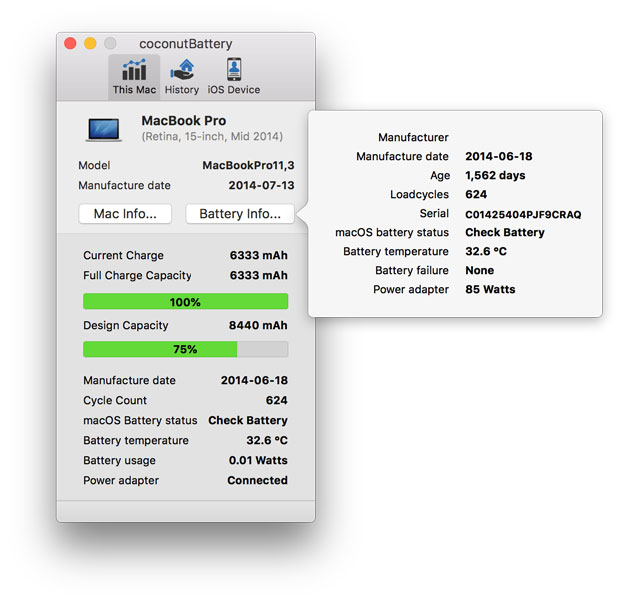
CoconutBattery shows there’s some sort of issue here.
Replacing it, sadly, is not just a matter of wielding a screwdriver. The battery is glued into the top case. NewerTech on their page rates this “DIFFICULTY LEVEL: 5 OF 5: Recommended for experienced technicians.”. iFixit rates it as “difficult” with a full three red bars of difficulty.

(Not all pictured tools will be used in the removal.)
Inside the first box is the battery and two screwdrivers, and inside the second is the rest of the toolkit. Also supplied is a full double-sided set of warnings about all the ways in which your day could suddenly be made a lot more interesting - after all, part of this process will involve covering highly flammable lithium batteries with a highly flammable solvent to remove the adhesive. I ran the laptop down to 0% battery to make it a little safer…
Referring to the installation instructions, there is a 101 step process to remove nearly everything inside the bottom case followed by removal of the battery, then reinstallation of everything. So let’s unpack and begin…
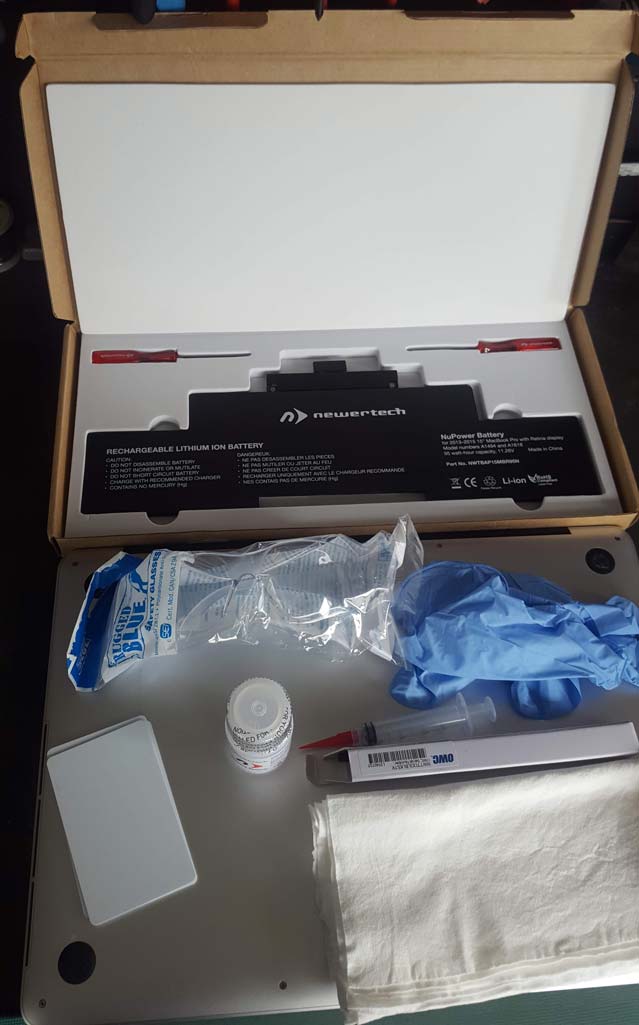
Two screwdrivers (T6 and Pentalobe), a new battery, safety glasses, gloves, three plastic cards, a small bottle of “adhesive remover” (acetone), a syringe applicator, a spudger and two cloths.
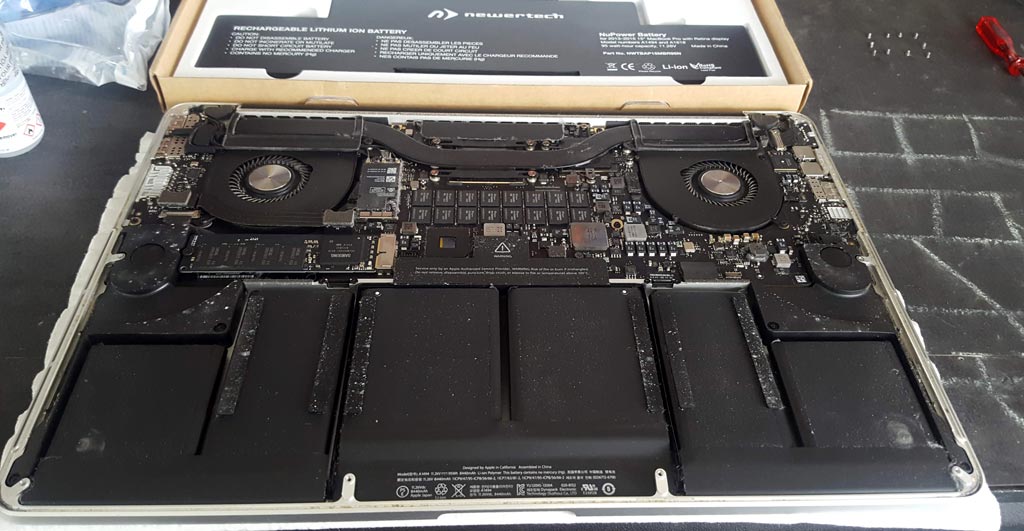
I started by removing the back cover and at this point used some canned air to remove some of the dust gathered in the cooling system.
According to the warning on the battery, I shouldn’t be doing this. I’m not going to let that stop me.
It was then discovered that the left fan was in fact half blocked by dust. This may well explain why the laptop had loud screaming fans under high CPU load.
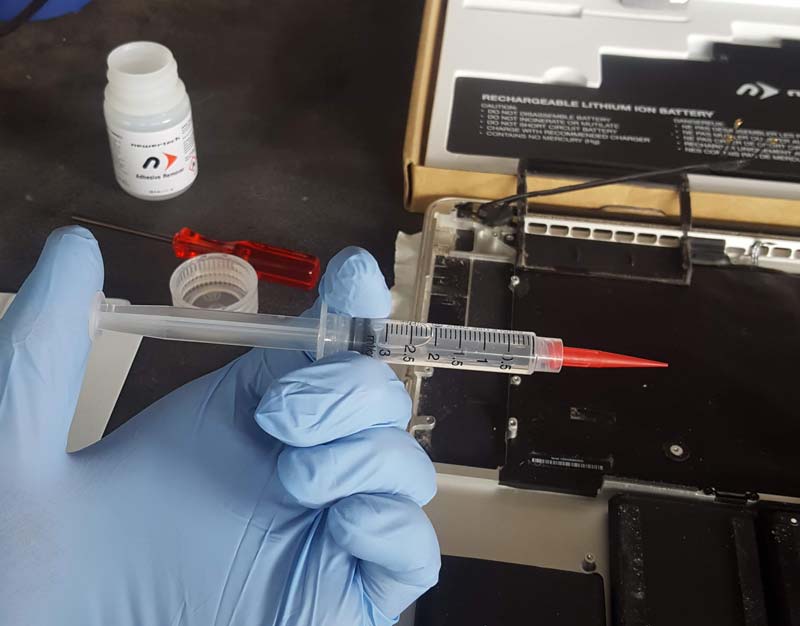
Having removed nearly everything, things took a turn towards “strangely medical” as I put on the gloves, safety glasses, and filled the syringe with acetone. Depositing it around the edge of the battery, it was drawn under via capillary action. After waiting about a minute, one of the plastic cards was levered under the battery, and it could then be unpeeled from the case.
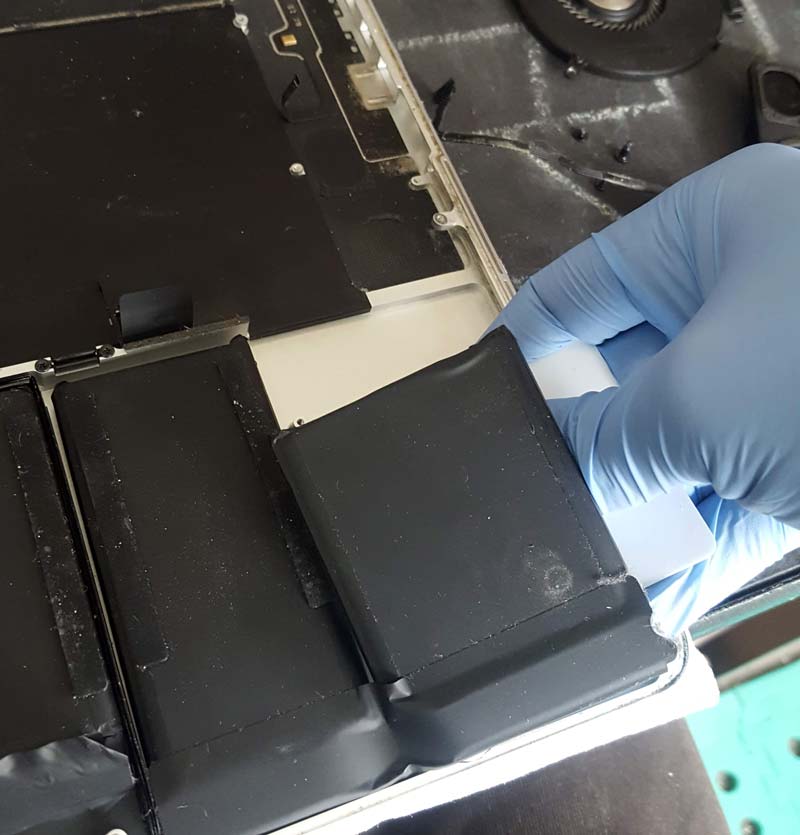
This isn’t something I thought I’d have to be doing to replace a battery…
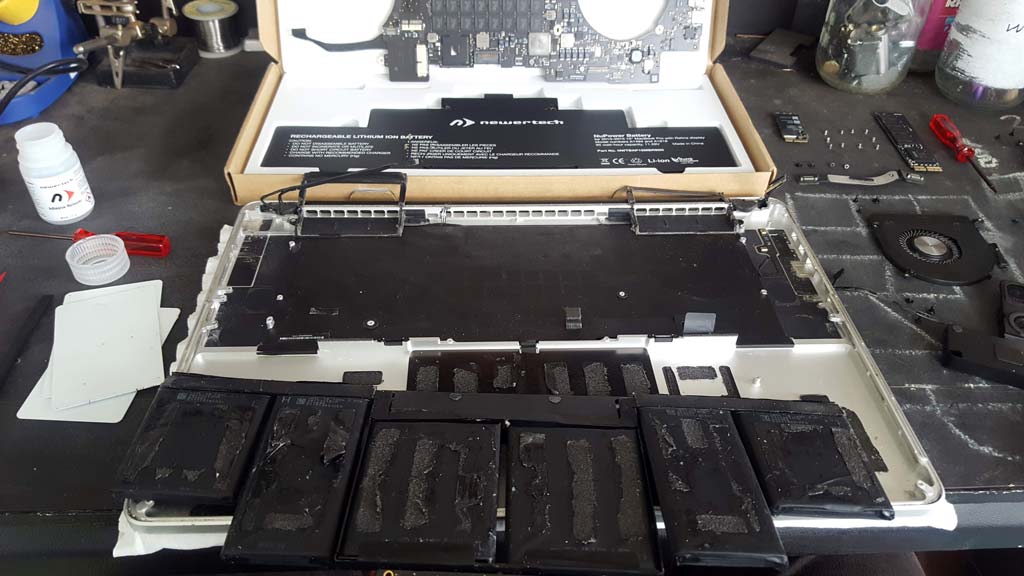
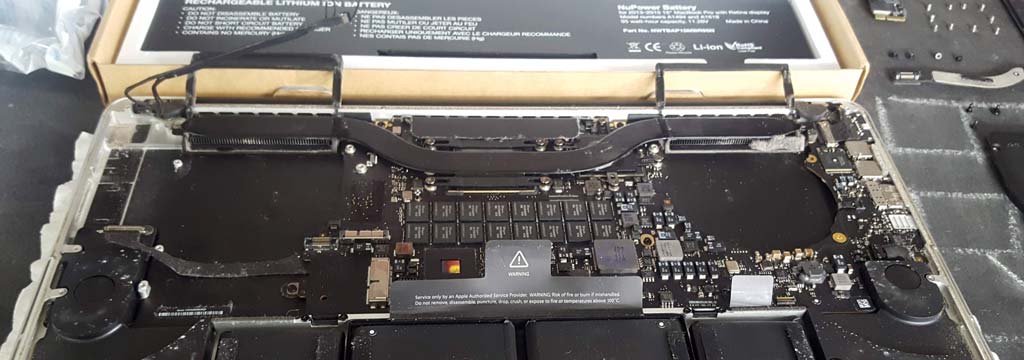
After a lot of prying, the battery came free…
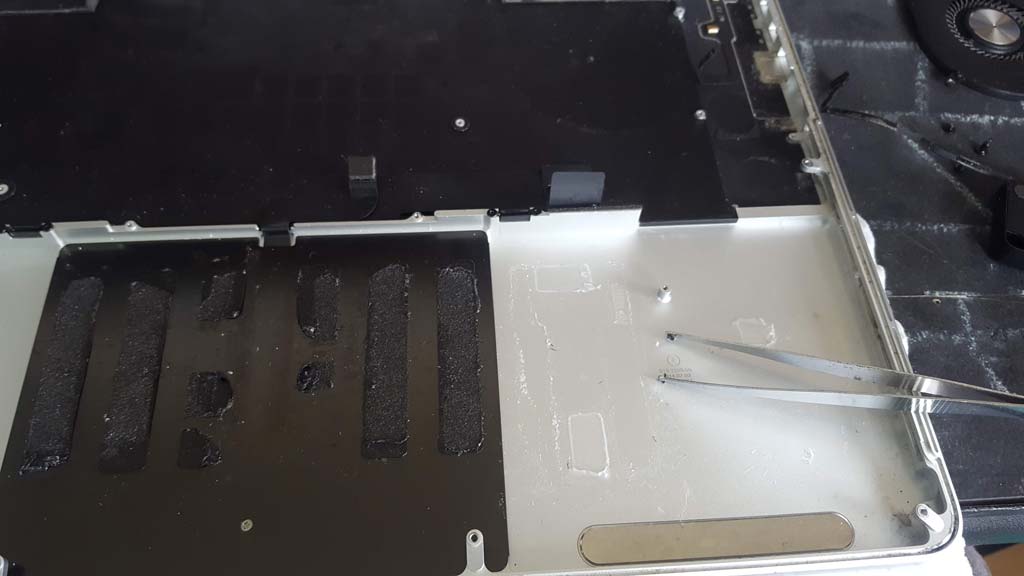
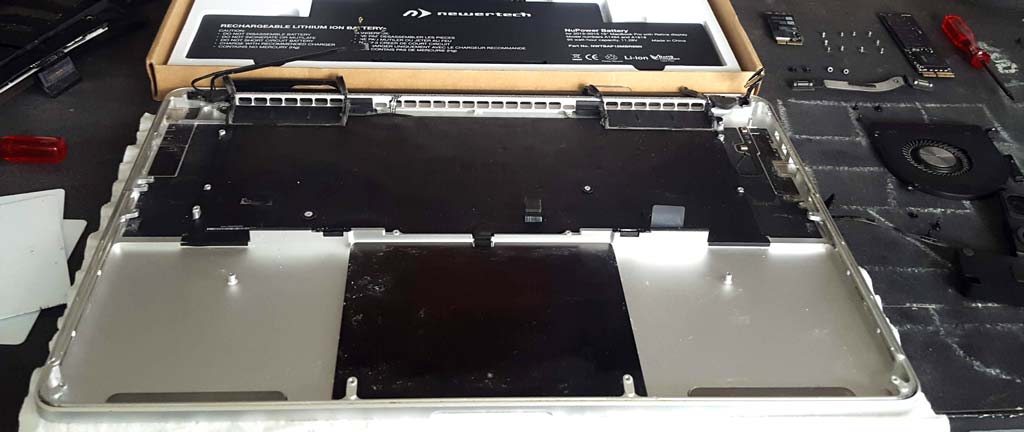
…leaving behind a huge sticky mess. This was a major pain to remove - it took close to an hour of scraping, poking, prodding and attempting to dissolve the leftover adhesive with more acetone. Trying to peel it up only removed small pieces of it at a time.
After a lot of poking and scraping, I decided I wasn’t going to get the last bits out, so after giving it half an hour for all the residual acetone fumes to evaporate, I put all the parts back in.
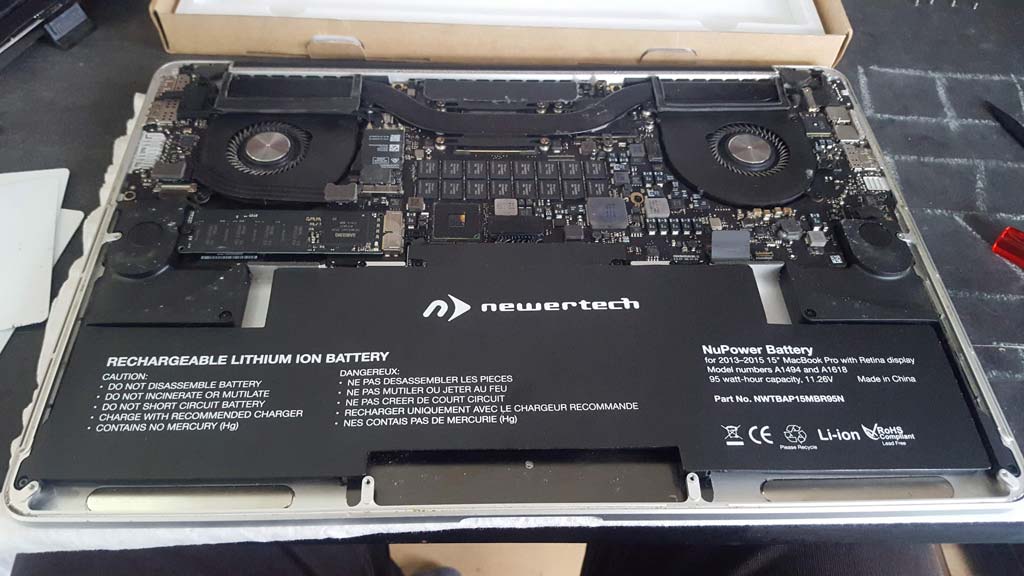
Now, peel back the double sided tape and stick the new battery in.
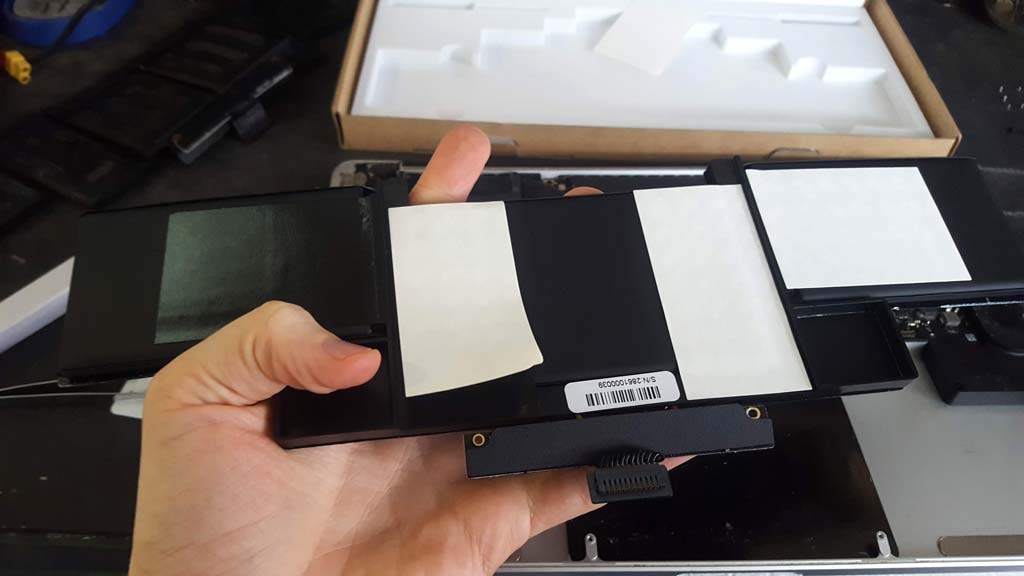
And it’s in.
Let’s boot it up:
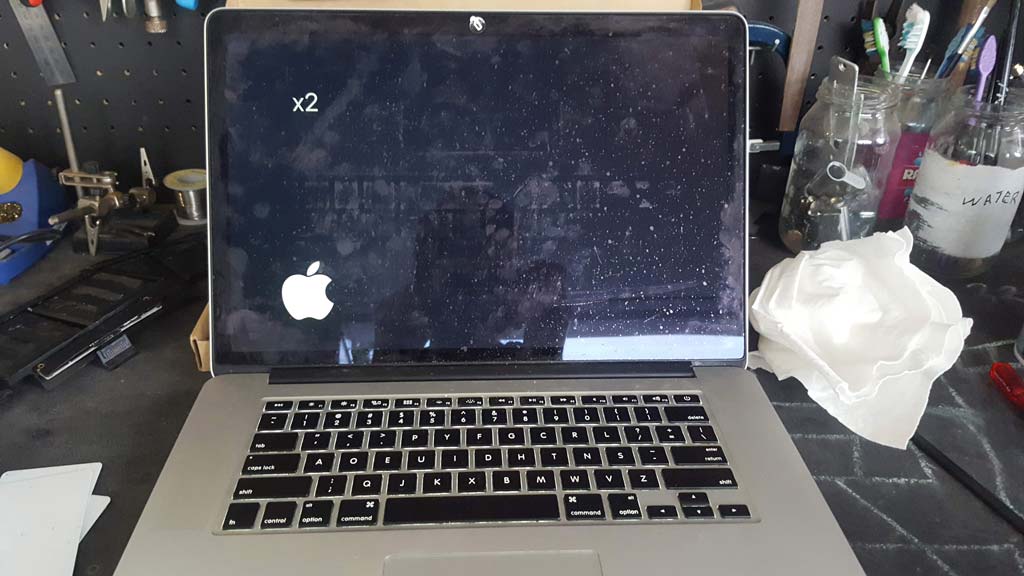
And it’s alive! (I gave the screen a good cleaning after this…)
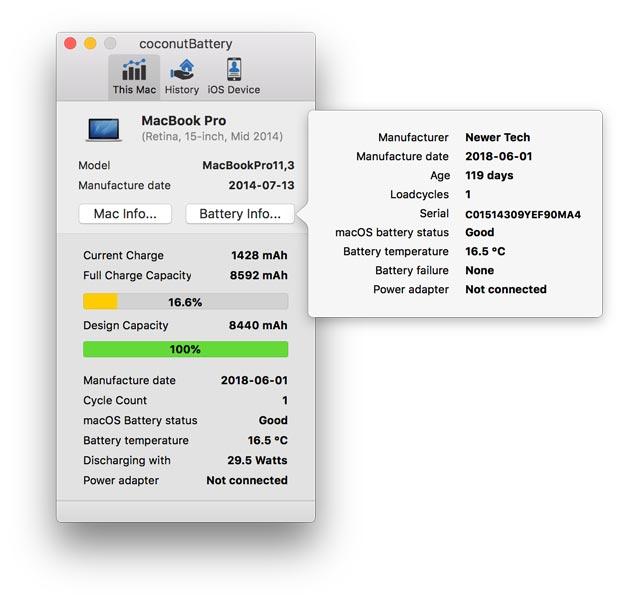
CoconutBattery shows 1 cycle, and that it is cold out here.
After following the break-in instructions for the battery, it’s running with the expected life (and quieter fans…), so we can call that a success.
It’s just unfortunate that it’s so difficult to replace…